Wednesday, March 10, 2021

Rebellion in the Rim pt. 3 (Round 2)

Round 2 map

Things are getting interesting. Let's dive into turn 2 of RitR!

The Fleets

We needed more squadrons, so we got more squadrons. I won, so 2 Ints and 1 TIE for me. My fellows could afford no more than 1 Int each. Ouch. Double ouch when you see the potato + squads list taking another X-wing and a Scurrg. It's a legit fleet. The best of all 3 rebel task forces. But it's already at 111 pts of squads. None of my fellow commanders can handle that. So what do we do? We send my fleet and use the ally token and hope for the best. The rest of the rebels also got more squads but they aren't as extreme.


EMPIRE

Strategic tokens:
Ally: 1
Resources: 2
Skilled Spacers: 1

###

Fleet: Why So Many Gozanti?
Commander: Commodore Drok Lodt (BJØRN)
Abilities: Master Navigator I
XP: 2
Conditions: None
Assault: Most Wanted
Defense: Abandoned Mining Facility
Navigation: Infested Fields
Gladiator I (56) [FLAGSHIP] [VET]
• Ordnance Experts (4)
= 60 Points
Raider I (44)
• Ordnance Experts (4)
= 48 Points
Gozanti Cruisers (23)
• Parts Resupply (3)
= 26 Points
Gozanti Cruisers (23)
• Comms Net (2)
= 25 Points
Squadrons:
• Maarek Stele (21)
• Colonel Jendon (20)
• 2 x TIE Interceptor Squadron (22)
• TIE Fighter Squadron (8)
= 71 Points
Total Points: 230

###

Fleet: Dat Ole VSD
Commander: Fleet Captain Lex Ander (ALEXANDER)
Abilities: Master Navigator I
XP: 2
Conditions: None
Assault: Most Wanted
Defense: Contested Outpost
Navigation: Infested Fields
Victory I (73) [FLAGSHIP]
• Linked Turbolaser Towers (7)
= 80 Points
Arquitens Light Cruiser (54)
• Linked Turbolaser Towers (7)
= 61 Points
Gozanti Cruisers (23)
• Comms Net (2)
= 25 Points
Squadrons:
• Soontir Fel (18)
• Howlrunner (16)
• TIE Interceptor (11)
= 45 Points
Total Points: 211

###

Fleet: Pimp My Ships
Commander: Flotilla Commander So Tham (THOMAS F)
Abilities: Master Engineer I
XP: 2
Conditions: None
Assault: Opening Salvo
Defense: Contested Outpost
Navigation: Infested Fields
Arquitens Command Cruiser (59) [FLAGSHIP]
• Skilled First Officer (1)
= 60 Points
Arquitens Command Cruiser (59)
= 59 Points
Raider II (48)
• Disposable Capacitors (3)
= 51 Points
Squadrons:
• Ciena Ree (17) [VET]
• Valen Rudor (13)
• TIE Interceptor (11)
= 41 Points
Total Points: 211

REBELS

Tokens: Skilled Spacers, Resource (x2), Ally, 
.
Eirik - Crimson Vanguard - (223)
Ability: Master Gunnery I
XP: 1
.
(V) [flagship] Assault Frigate Mark II B (72)
= 72 total points
CR90 Corvette A (44)
 - Turbolaser Reroute Circuits (7)
= 51 total points
GR-75 Medium Transports (18)
 - Comms Net (2)
= 20 total points
.
Squadrons (80/200):
1x Millennium Falcon - Lando Calrissian (23)
1x Kanan Jarrus (19)
1x HWK-290 (12)
1x VCX-100 Freighter (15)
1x A-Wing Squadron (11)
.
.
Thomas - Roosh Flying Corcus - (204)
Ability: Master Engineer I
XP: 2
.
Nebulon-B Support Refit (51)
 - Auxiliary Shields Team (3)
 - Spinal Armament (9)
= 63 total points
CR90 Corvette A (44)
 - Turbolaser Reroute Circuits (7)
= 51 total points
CR90 Corvette B (39)
 - Reactive Gunnery (4)
= 43 total points
.
Squadrons (47/200):
(V) 1x Corran Horn E-wing Squadron (22)
1x Rogue Squadron X-wing Squadron (14)
1x A-Wing Squadron (11)
.
.
Carl Thomas - 82nd Exploratory Fleet - (229)
Ability: Master Coordinator I
XP: 2
.
(V) [flagship] Assault Frigate Mark II B (72)
= 72 total points
GR-75 Medium Transports (18)
 - Comms Net (2)
= 20 total points
GR-75 Medium Transports (18)
 - Bomber Command Center (8)
= 26 total points
.
Squadrons (111/200):
1x Moldy Crow - Jan Ors (19)
1x Norra Wexley Y-wing Squadron (17)
2x Y-Wing Squadron (20)
3x X-Wing Squadron (39)
1x Scurgg H-6 Bomber (16)

The Strategic Situation

The Empire has two goals: retain Mandalore so we can build a base there and take Nal Hutta away from the Rebel. Mandalore is the more important of the two. Nal Hutta is important because if we can take it away now, we can prevent Rebels from using ally tokens. That way we can maybe neuter the squads & potato list.

Assaults

We were under 2-1 in points so had the first assault.

1st assault: Sent the twin command Arqs + Raider vs Lothal. It's a nice system. Resources. Squads. Sits on the border between two sectors. Defended by Neb + CR90s.

Narrow win to Empire playing Holonet Override.

2nd assault: Rebels send their AF/TRC90 fleet against Dantooine. Not sure why they picked that planet but they did. We defended with Vic/Arq fleet.

Big win to Rebels playing our Most Wanted. The less said about this battle, the better 😅

3rd assault: GSD/Raider fleet sent with Ally token to attack Nal Hutta. squads & potato defending with ally token. As expected.

Big win to Empire playing his Capture the VIP (turns out he really should have Asteroids, but mixed up stuff - no worries).

2nd Battle of Nal Hutta

I used my Ally token to take 3xYV-666s. A strange choice, I hear you say. well, not in this case. The map is so small the low speed hardly matters. And I need both hull and firepower to deal with those pesky rebels. Heavy is a problem but I hope Maarek and my TIEs will last long enough for it not to matter. The rebel brings 2xYT-2400 (of course he does). And a HWK. I think a YT-1300 would be better but it's not a back selection. The only way this is going to work is if the Raider gets off a few good rounds of flak before dying...
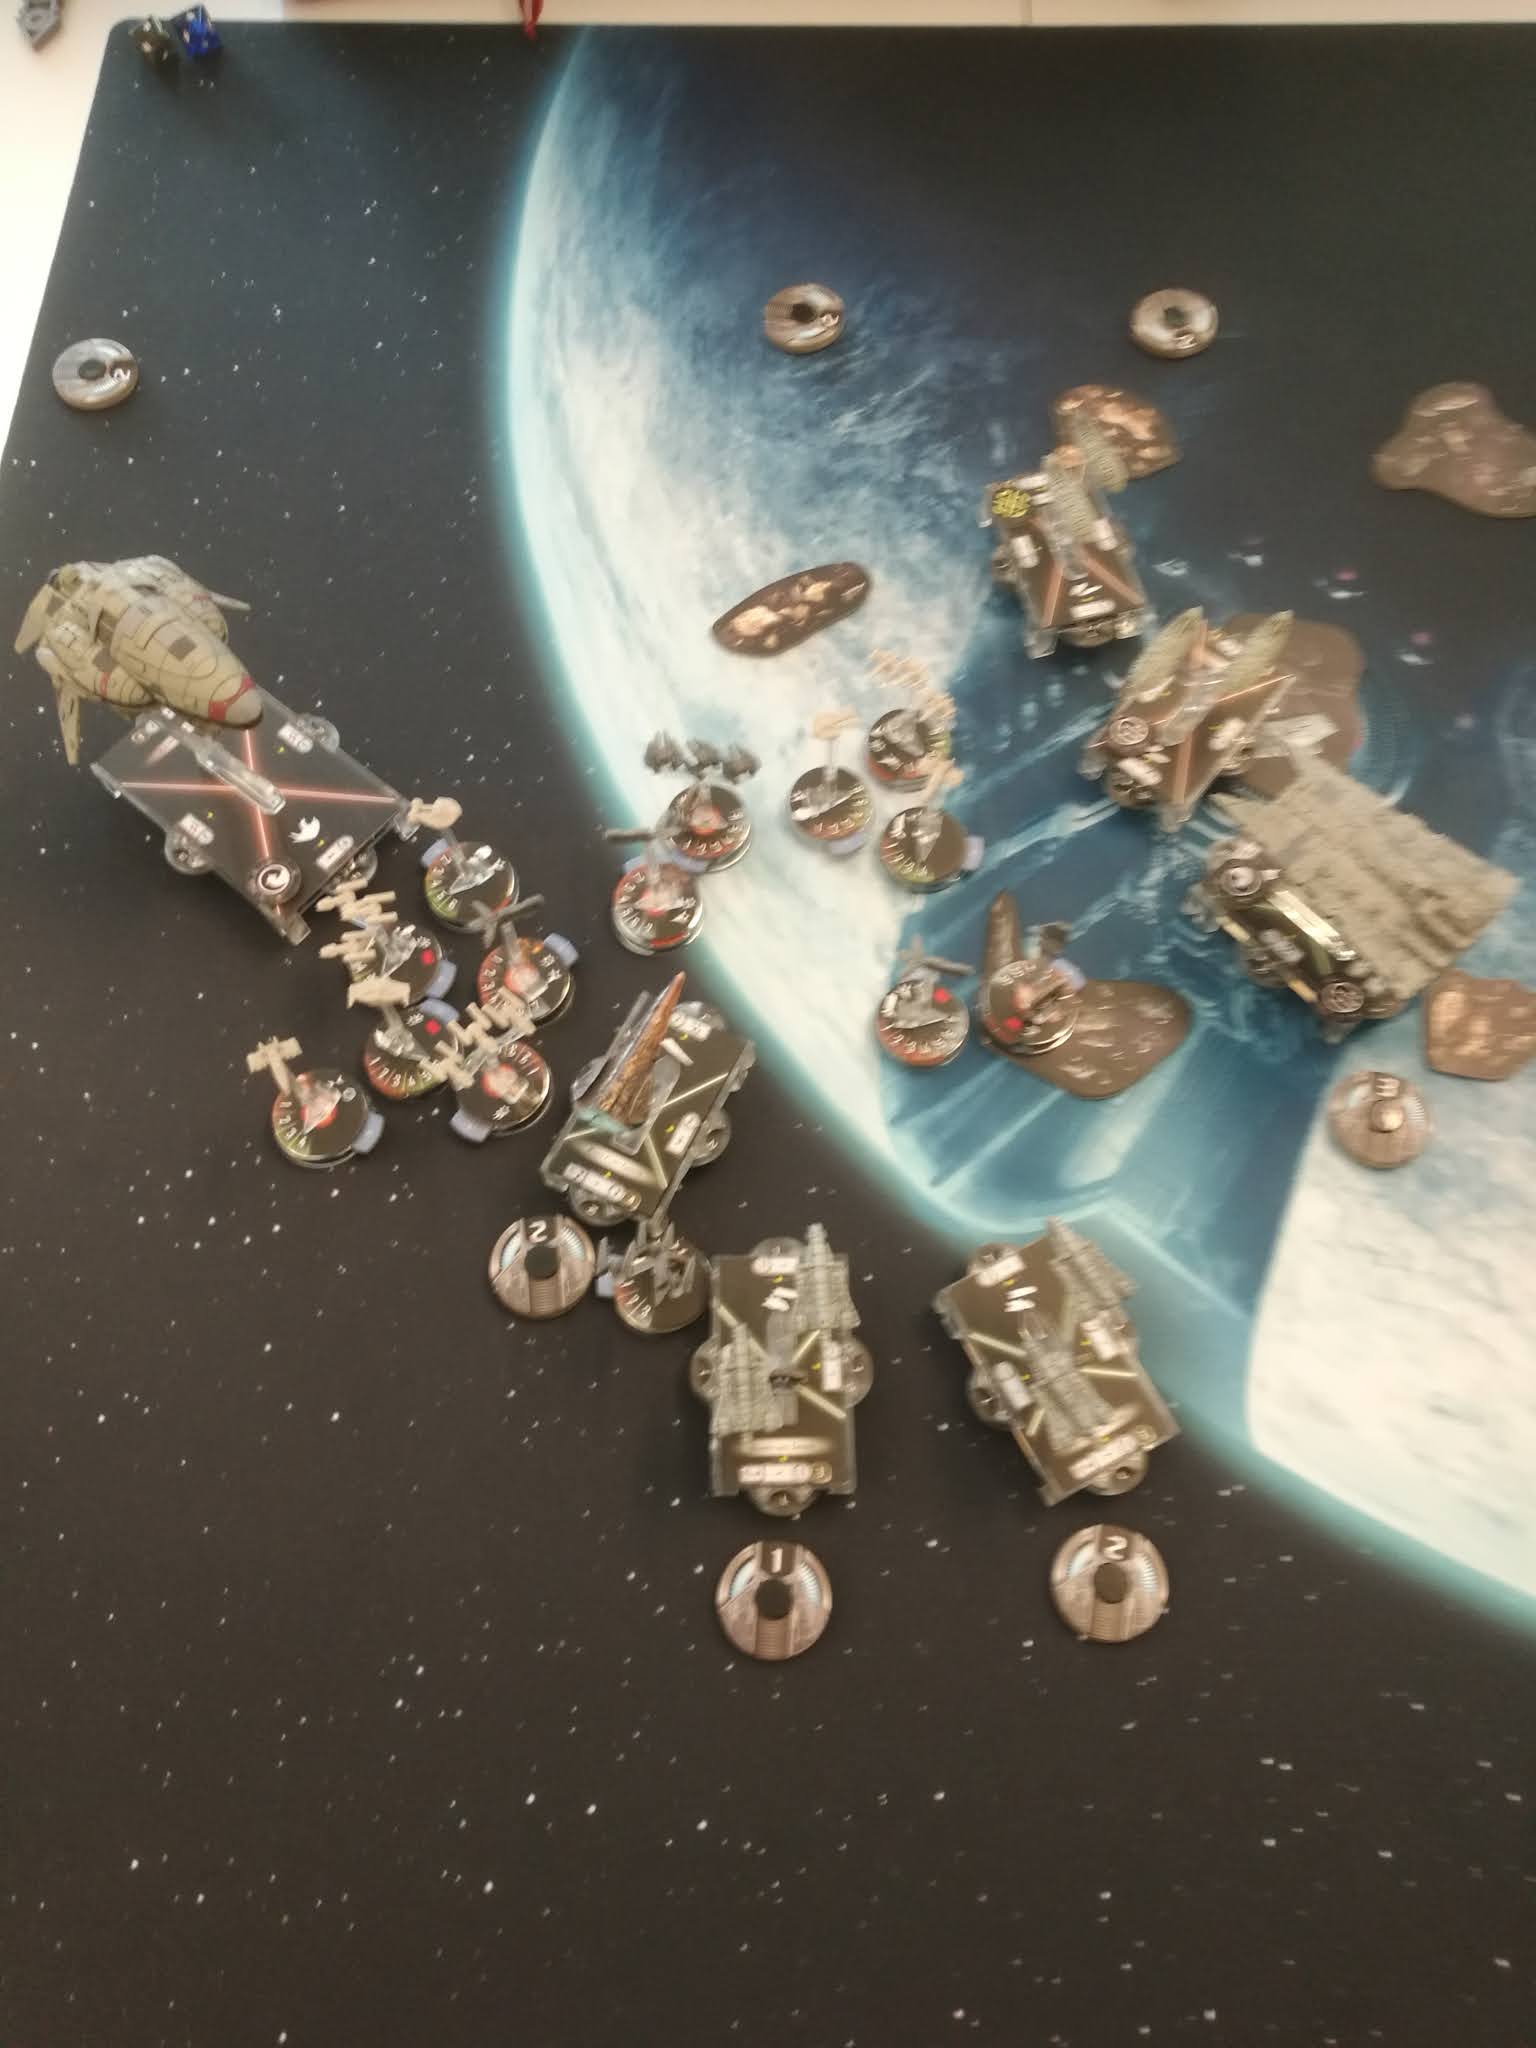
Setup

Everything went down in the middle. Objective token on the little asteroids. I'm focusing on squad-pushing and getting the raider into flak-position. GSD to move in and try to wipe out the flotilla with the objective token.

Start r2

Closing. Note how rebel squads have split up. This is a mistake that will hurt a lot later. Also, his two flotillas get crowded AND turn into the take to support the squads. Not ideal.


Glad speeds up and into attack position. But it actually never shoots at any flotillas bc there is so much bumping it's not needed. Raider flak hits all but 1 rebel squad. Rebels kill Empire squads but are greatly weakened. And away from the station.

Start r4

The squadron fight is intense and delicate. Rebels struggle to move as multiple Empire squads laugh at their grit. Rebels try but don't get a good enough run at the raider to kill it.


Stuff dies

On both sides

Start r5

Rebel transports bumped to death. Both sides are running out of squads. Raider has gotten 2 very powerful volleys off. Its near death so picks up the token and flies away.

Closeup

Start r6

One Gozanti dies...to ramming 😅 Jan Ors is the only squad left. And she's got no tokens. Jendon and a TIE Int - still at 3 hull - kill her. Jendon become a veteran! 11 rebels squads dead to 6 imperial!!!

Endstate

MoV is just shy of 150 so +1 XP for me for a 2/2 XP score. But most importantly Nal Hutta is ours. And we're NEVER giving it back 😆

It was a good game. Much closer than the score indicates. It's just my opponent is less experienced than me and made a few small errors with the setup which split his forces too much. I capitalized on that and was able to get the upper hand without taking too many losses in return.

Aftermath

We built our Mandalore base and collected out strategic tokens, spent XP, and expanded our fleets. But more about that in the next part.

No comments:

Post a Comment